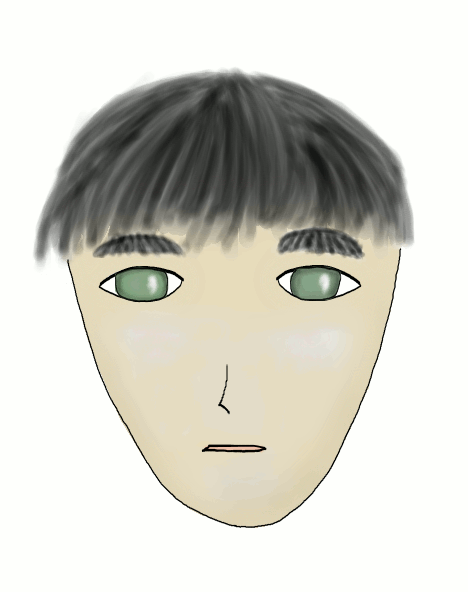
I'm really happy with tonight's lesson. You should be also. The previous Making Javantea's Fate showed a girl with red hair. Her hair was not very realistic. It started as red, then I attempted to change it highlighted and shaded. It didn't work terrifically well. Well, I came up with a new hair generation technique and I'd like to share it with you. It was done in Gimp, but you can probably figure it out in any sufficiently good image editor. I started with the ink pen. This image highlights the use of an ink pen: jaw outline, eye outline, nose, and mouth are all pen. That's a simple use of pen. I tried to make hair-looking things with the pen. I lowered the opacity and painted hair strands as best I could. Actually I thought it would work, but nothing came of it. I ended up blurring it out of recognition. But I left it there because the blur looked about right. So I took out the paint brush and left the brush solid 11. I reduced the opacity to 2%. I drew curves back and forth over and over. It worked. That is exactly what you see here. The rest was not very much different from the usual. That is the lesson for today, hair can be drawn using 2% solid 11 paintbrush on top of white grey blurred gradient.
Good luck and keep up the good work.
-
Leave a Reply


Comments: 0
Leave a reply »